How to Deploy a Vanilla PHP project on Railway
April 22, 2023
Nowadays, when people hear about PHP, the first thing that comes to their mind is most-likely WordPress or other PHP frameworks depending on how they started knowing about PHP. But, as a beginner in PHP, you might just want to learn the basics of PHP before you start learning about frameworks.
In this article, I will be showing you how to create a simple PHP application without using any framework, and how to deploy it to Railway.
Why Railway?
Railway is a super easy to use deployment platform for web apps. It allows you to deploy your web apps with just simple clicks. It supports a wide range of programming languages and frameworks, including PHP, Node.js, Python, Ruby, Go, and many more.
As a beginner, you might not want to spend time on setting up a VPS and configuring it. Now, if you're wondering what's a VPS? This is the right tutorial for you. Because you don't need to know that and that's not the point of this tutorial. You just need to know that Railway is a great platform for deploying your web apps.
Basically, I love Railway. That's why 🤷♂️ (I'm not sponsored by Railway, by the way)
Minimum Prerequisites
- A Railway account (just sign up with your GitHub account or Email)
- Basic knowledge of PHP
- Basic knowledge of Command Line Interface (CLI)
Extra Prerequisites
- Basic knowledge of Git and GitHub
- Familiarity with Composer (a PHP package manager)
You can either use the Railway CLI or GitHub to deploy your app. I will be showing you both methods. But, if you don't know what Git and GitHub are, I recommend you to use the Railway CLI method instead just to get things going faster.
Creating the app
First, we need to create a new project. For the sake of the tutorial, I will be creating a folder called
`my-php-project` and then create two files inside of it. The first file will be called `index.php` and the
second one will be called `login.php`.
Now, let's open the `index.php` file and add the following code to it:
<?php
echo "Hello World!";
`?>`, make sure that you have a blank line after the PHP code.And, let's make a new file called `login.php` and add the following code to it:
<?php
echo "Login Page";
Deploy with Railway CLI
For this method, you need to have the Railway CLI installed on your machine. If you don't have it installed, you can refer to the Railway CLI page to install it.
Login to Railway
Now, let's open the terminal and navigate to the `my-php-project` folder. Then, run the following command to
authenticate with Railway:
railway login
If you see weird errors like (400) Make sure you have installed the latest Railway CLI
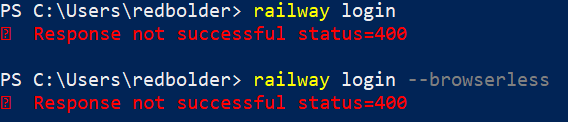
"If there are any issues with browser-based login you can use the --browserless flag to authenticate. This will print a URL and a pairing code to the terminal which you can use to authenticate (useful for SSH sessions)."
Link your project to Railway
For Railway to know which project files you want to deploy, you need to either create a new Railway project via CLI or link an existing Railway project. To do the latter, you need to run the following command:
railway link
If you don't have a Railway project, you can create a new one by running the following command:
railway init
Now, the prompt will ask you to choose a name for your project. You may leave it empty to get a random name generated by Railway.
To verify that your project is linked to Railway, you can run `railway status` and you should see something like
this:
$ railway status
Project: my-php-project
Environment: production
Now, let's deploy our app to Railway. To do that, we need to simply run the following command:
railway up
After a few seconds, you should see your app deployed to Railway like a cake!
But, you also need a domain to be able to see your app! And, it's super easy. Run `railway domain` and
you will have a domain for your app instantly.

After a few seconds, you should be able to access your app via the domain you just got.
Deploy with GitHub
If you want to directly deploy your app from GitHub rather than locally, you can do that too. But, you need to have a GitHub account and a repository for your app.
I'm assuming that you know how to use GitHub and you already know how to setup your repository. If you don't, you can refer to the GitHub Docs to learn how to use GitHub.
Create a new Railway project on Railway
First, you need to create a new Railway project on their website. You can do that by clicking on the `New Project`
button on the top right corner of the website. (Make sure you're logged in).
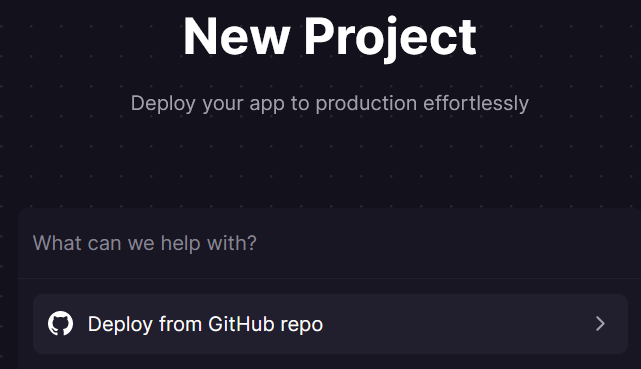
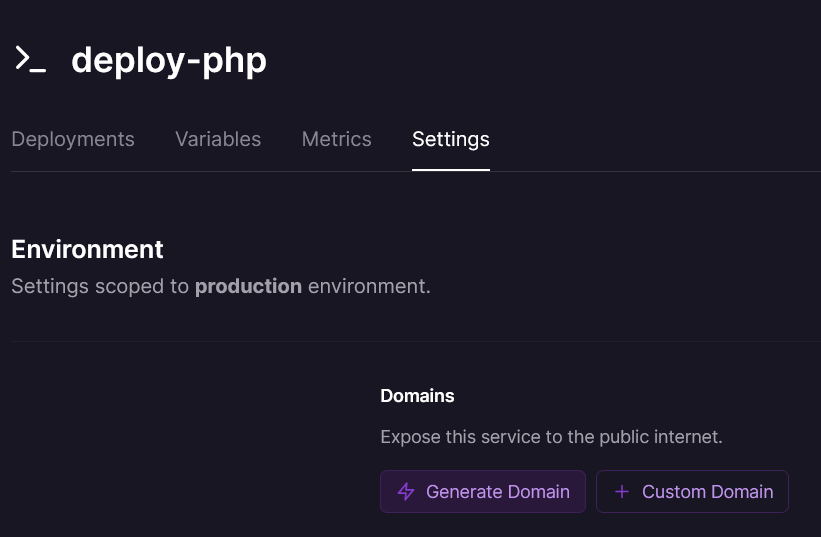
Choose "Deploy from GitHub repo" and choose your repository. Then, you're basically done and you can generate a new domain for your app in the "Setting" section.
Add fallback to index.php
In order for your app to always execute the `index.php` file even if the user enters a different URL path, you need to add
a configuration file for nginx. You can do that by creating a new file called `nginx.template.conf` under the root
directory of your project and adding the following content to it:
worker_processes 5;
daemon off;

worker_rlimit_nofile 8192;

events {
  worker_connections  4096;  # Default: 1024
}

http {
    include    $!{nginx}/conf/mime.types;
    index    index.html index.htm index.php;

    default_type application/octet-stream;
    log_format   main '$remote_addr - $remote_user [$time_local]  $status '
        '"$request" $body_bytes_sent "$http_referer" '
        '"$http_user_agent" "$http_x_forwarded_for"';
    access_log /dev/stdout;
    error_log /dev/stdout;
    sendfile     on;
    tcp_nopush   on;
    server_names_hash_bucket_size 128; # this seems to be required for some vhosts

    server {
        listen ${PORT};
        listen [::]:${PORT};
        server_name localhost;

        $if(NIXPACKS_PHP_ROOT_DIR) (
            root ${NIXPACKS_PHP_ROOT_DIR};
        ) else (
            root /app;
        )

        add_header X-Frame-Options "SAMEORIGIN";
        add_header X-Content-Type-Options "nosniff";

        index index.php;

        charset utf-8;

        location / {
            try_files $uri $uri/ /index.php?$query_string;
        }

        location = /favicon.ico { access_log off; log_not_found off; }
        location = /robots.txt  { access_log off; log_not_found off; }

        $if(IS_LARAVEL) (
            error_page 404 /index.php;
        ) else ()

        location ~ \.php$ {
            fastcgi_pass 127.0.0.1:9000;
            fastcgi_param SCRIPT_FILENAME $realpath_root$fastcgi_script_name;
            include $!{nginx}/conf/fastcgi_params;
            include $!{nginx}/conf/fastcgi.conf;
        }

        location ~ /\.(?!well-known).* {
            deny all;
        }
    }
}
Redeploy your app and you should be able to access your app via the domain you just got.
Conclusion
In this tutorial, we learned how to deploy a PHP app to Railway. We also learned how to deploy our app from
GitHub and how to add a fallback to `index.php` file. I hope you enjoyed this tutorial and learned something
new. If you have any questions, feel free to contact me directly on Twitter or Email.